
How to Prepare Your Home for Flooring Installation
Tips from the Experts
Are you tired of those creaky old floorboards or the faded, worn-out carpets that have seen better days? If you’re considering a flooring upgrade, you’re in for a transformative home improvement project that can revitalize your living space. However, before you embark on this journey of renewal, it’s crucial to prepare your home thoroughly to ensure a smooth and successful flooring installation. To help you navigate this process with ease, we’ve gathered tips from the experts to ensure your new floors shine bright and strong.
1. Assess Your Current Flooring:
Before diving into any flooring project, it’s vital to take stock of your existing floors. Start by removing any furniture or obstacles that might be in the way. Examine the condition of your current flooring – is it carpet, tile, hardwood, or something else? This initial assessment will provide a baseline for what lies ahead and help you determine the best course of action.
2. Choose Your New Flooring:
Once you’ve evaluated your current flooring, it’s time to select the type of flooring that best suits your needs and style. The experts recommend considering factors like durability, maintenance, and aesthetics when making your choice. Whether you opt for the timeless charm of hardwood, the versatility of laminate, or the coziness of carpet, ensure that your selection aligns with your lifestyle and budget.
3. Measure Twice, Cut Once:
The age-old adage of “measure twice, cut once” is particularly relevant when preparing for a flooring installation. Accurate measurements are essential to purchasing the right amount of flooring materials, minimizing waste, and avoiding costly mistakes. If you’re not confident in your measuring abilities, it’s advisable to consult a professional for precise measurements.
4. Acclimate Your Flooring Material:
Many flooring materials need time to acclimate to the conditions of your home. Wood, in particular, is sensitive to changes in temperature and humidity. To prevent future warping, cupping, or buckling, experts recommend allowing your flooring materials to sit in your home for a specified period before installation. Follow the manufacturer’s guidelines for acclimatization, and be patient – it’s an essential step to ensure a successful flooring installation.
5. Clear the Area:
Preparing your space for the installation requires clearing the area of all furniture and personal items. This not only gives installers the space they need to work efficiently but also protects your belongings from dust and potential damage. If you’re unsure about the process, consult with your flooring installer for guidance on what to move and how to store your items safely.
6. Check for Subfloor Issues:
The condition of your subfloor is a critical factor in ensuring the longevity and integrity of your new flooring. Before installation, inspect your subfloor for any signs of damage, moisture issues, or uneven surfaces. If you find problems, address them promptly to avoid complications down the road. Consult with a professional if necessary.
7. Remove Baseboards and Trim:
To achieve a seamless and professional-looking installation, it’s recommended to remove baseboards, trim, and any other obstacles that might hinder the placement of your new flooring. This allows the flooring material to extend all the way to the walls and results in a cleaner finish. Be sure to label and store these removed items for reinstallation once the flooring is in place.
8. Ensure Proper Ventilation:
Adequate ventilation is crucial during a flooring installation. Proper airflow helps the flooring material acclimate and prevents issues like moisture buildup, which can lead to mold and mildew. Ensure that your installation area is well-ventilated, and consider using fans or dehumidifiers if necessary to maintain optimal conditions.
9. Prepare for Dust and Noise:
Flooring installation can be a noisy and dusty affair. Prepare your home by covering items that can’t be moved, and use plastic sheeting to isolate the installation area. It’s also a good idea to inform your neighbors if you live in close proximity to others to manage potential noise concerns.
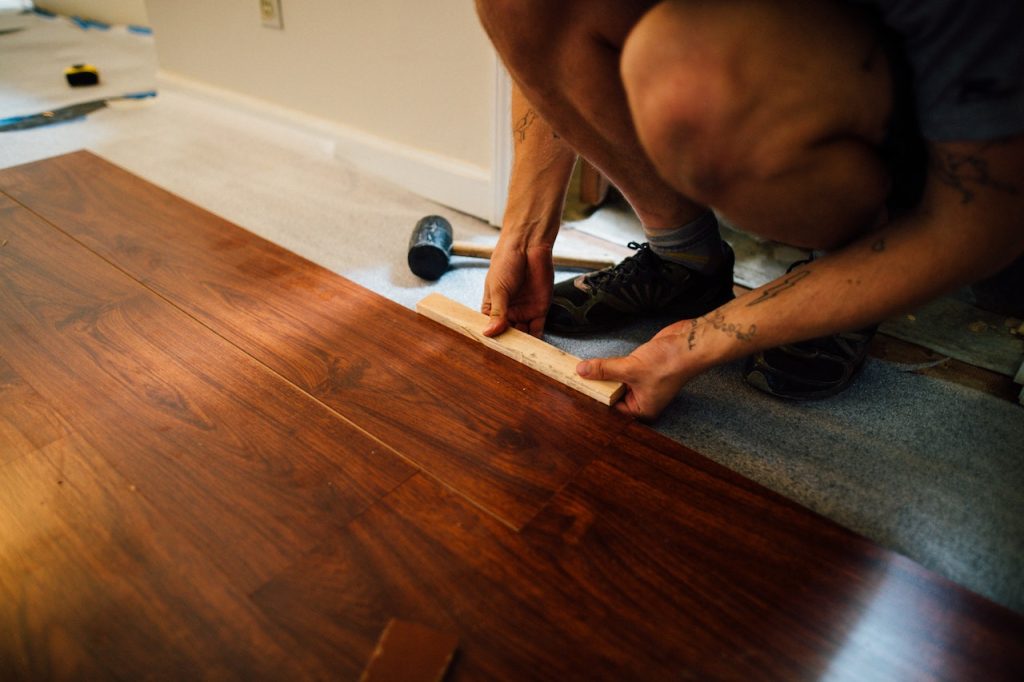
10. Schedule Professional Installation:
While DIY enthusiasts may be tempted to take on the challenge of installing their own flooring, hiring a professional is often the best choice. Expert installers have the skills, tools, and experience to ensure a seamless and long-lasting installation. They can address any challenges that arise during the process and provide a warranty for their work, giving you peace of mind.
11. Be Patient and Plan Ahead:
A successful flooring installation requires patience and careful planning. It may take several days, depending on the type of flooring and the size of the area. Plan ahead and make arrangements for temporary living spaces if necessary, as you might need to vacate the installation area during the process.
12. Post-Installation Care:
Once your new flooring is in place, don’t forget to take proper care of it to ensure it retains its beauty and durability. Consult with your installer or refer to manufacturer guidelines for maintenance instructions. Different flooring types may require specific care routines, so stay informed to maximize the lifespan of your investment.
Conclusion
A well-prepared home is the foundation for a successful flooring installation project. By following these expert tips, you can ensure that your new floors not only look stunning but also stand the test of time. Remember that professional assistance is invaluable, and hiring skilled installers will save you from potential headaches and guarantee a job well done. As you walk on your newly installed floors, you’ll be reminded of the transformation and the care that went into preparing your home for this exciting change.
Leave a Reply